enJOY it

an archived personal and craft blog from Elise Blaha Cripe.

  • Cover2

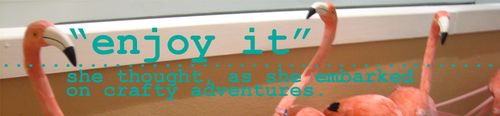
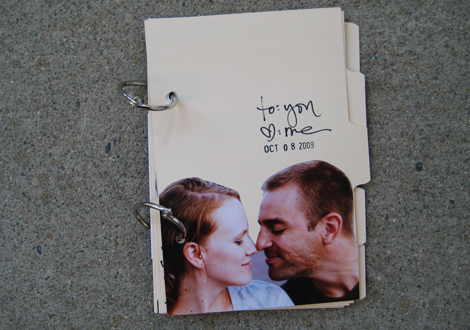
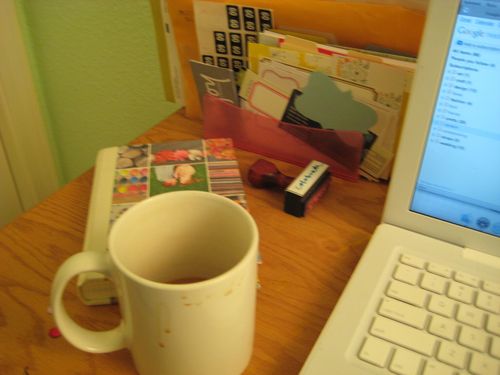
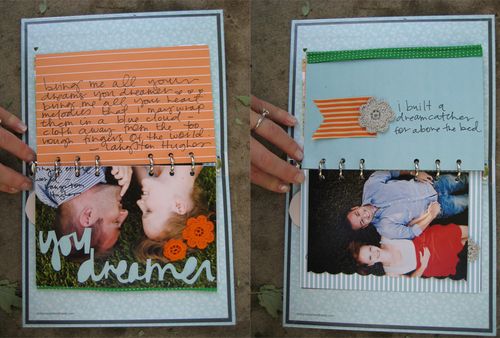
    A few different things came together this week and I wound up with a new minibook. First, I found this new section at Target with office supplies by KIT, a sub division of Russell+Hazel. I loved their little albums (designed to hold notepaper or business cards) and bought one to re-purpose as a mini album. Second, I read a poem on Cup of Jo that I adored and wanted to use in a project somehow. Third, a package from blog sponsor pixiepetals arrived.

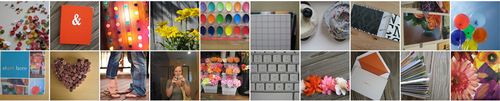
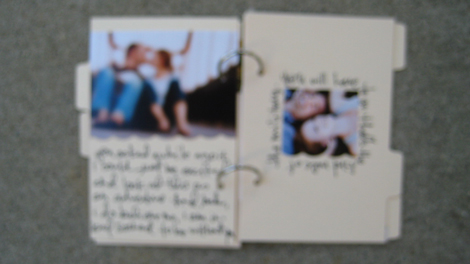
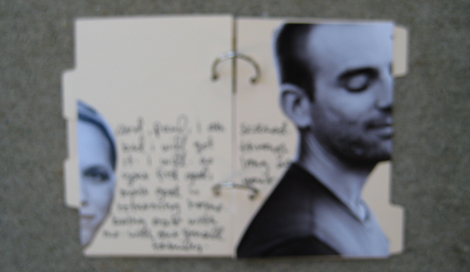
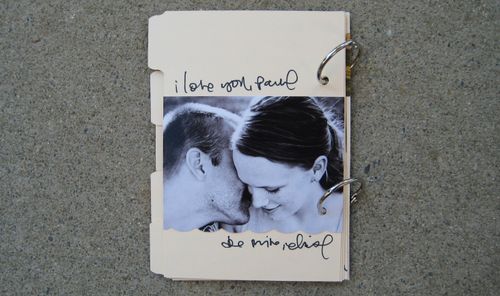
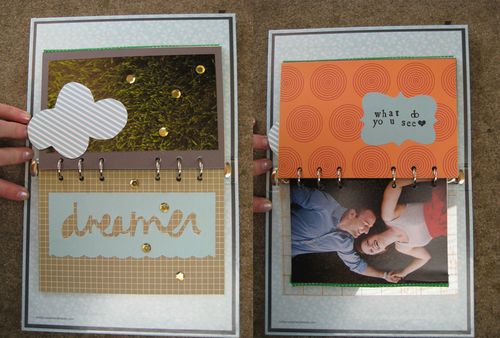
    The book became a perfect way to bring all the pieces together. Pixiepetal's handmade flowers and tags from vintage paper were perfect embellishments for my little book. Click images to enlarge.

    Pg1pg2
    Pg3pg4
    Pg5pg6 Pg7pg8 Theend

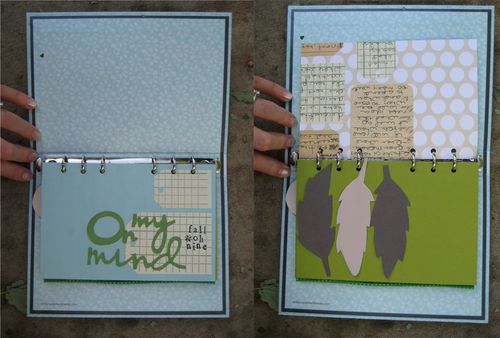
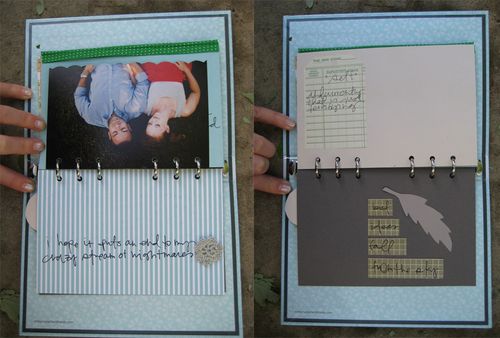
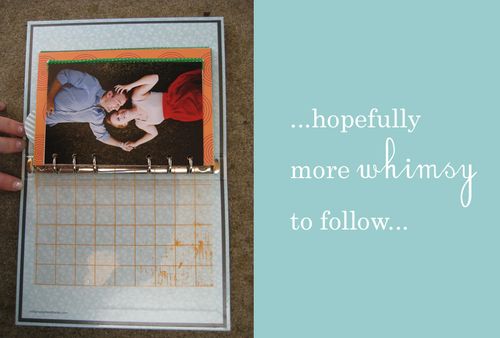
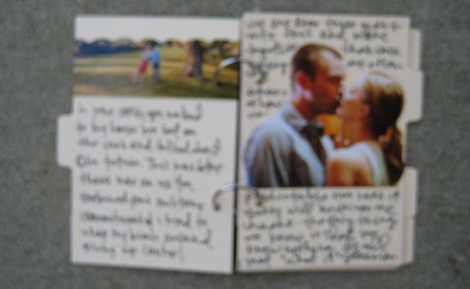
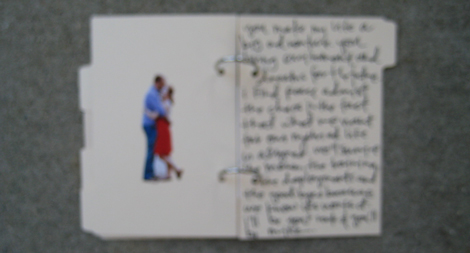
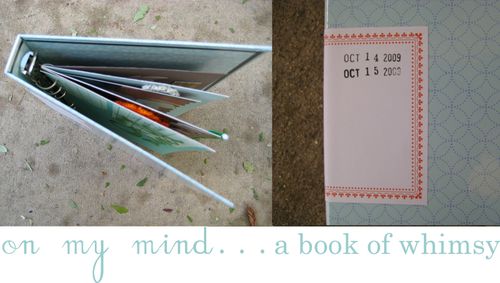
    It's not done. I love the colors of the album and the random thoughts. I wish I could make it 100 pages long and will hopefully keep it going. I plan to stamp the label on the front cover with the date of every day that I add to it. The pages that fit in the album were 6.75×4.5 so I am cutting everything down to that size. I also glued a few 4×6 photos back to back and stuck them in there as well. The green trim on the edge of some of the pages is an old fabric trim that I found in my mom's sewing box.

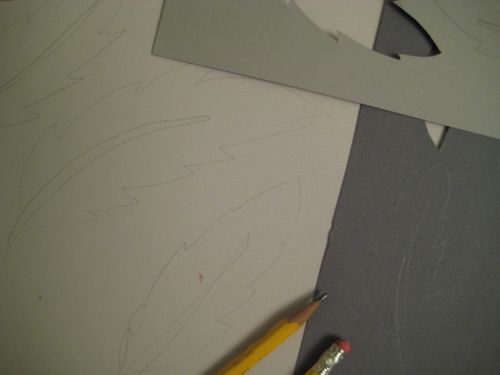
    Photos in the book taken by Lisa Welge. Cardstock is Bazzill. Patterned paper is American Crafts (I love their new "blue skies" line) JillyBean, Hambly and Cosmo Cricket. Tags and flowers are by pixiepetals. Words, feathers and brackets were handcut by me.

  • Feather
    My obsession relationship with feathers really started after I saw this post from Stephanie Congdon Barnes. Oooh la, la that little fabric feather. I would love one. I would love to decorate a Christmas tree in them. I would love to…

    But fabric is not my thing. And while I hope to buy one from Stephanie, I can't afford many. So the paper feathers came to be. It's strange, at my other job, I make things out of paper often. And not albums or books but THINGS. Like recently, we made trees from envelopes. And before that there were trees from poster board. And before that leaves and flowers. So feathers seemed easy.

    IMG_3160
    I bought three pieces of gray cardstock and sketched different sized feathers in pencil. Then, with detail scissors, I cut out each feather and used a bone folder to score and fold to make them seem more "real." Afterward, I punched holes and strung each on a piece of gray yarn.

    Feather1
    Feather2
    My feather garland is about four feet long. I hung it over my bed and on Saturday it will fly east to live over my Maryland bed. I have this idea that it will catch my dreams. And more importantly, it will protect me from my horrible nightmares (most recently involving me, a celebrity who-shall-not-be-named and a slow death by dull steak knife. I KNOW, RIGHT?) It's been two nights so far and no nightmares.

    What is it about garland and feathers that make all things a little bit more magical?

  • IMG_3176 IMG_3162 IMG_3195 IMG_3164
    It was a perfect day for cozy projects. I made a feather garland. I started a new scarf. I savored the first few pages of 3191: Evenings. I watched tv on hulu. I dreamed about falling back into our normal life in Maryland.

  • IMG_3182 IMG_3183 IMG_3184

    & emerged just in time to catch the rainbow.

  • Tutorialblogbanner

    I have had a lot of different blog banners in the past few years of blogging. (I posted a list of most of them here.) Currently, I have a photo mosaic of somewhat recent photos on display. This is a simple tutorial on how to make something similar for your blog. (Click on images to see them larger/clearer.)

    Picture 1
    I make my photo mosaics using an online application. Big Huge Labs works with Flickr and can be linked to your flickr account. At the top of the screen you can pick how many rows and columns included in your mosaic. I use 10×2 to make my banners.

    Picture 2
    Once you link the mosaic maker with your flickr account, you will be able to click "Choose a photo from Flickr" and a pop-up window with your photo gallery will appear to pick from. Easy, easy. Add all your photos, click create and then save the mosaic that appears to your desktop. NOTE : I recommend NOT using other people's photos in your mosaics – stick with yours.

    Picture 3
    In PSE or Photoshop, create a new document. The pixel width you choose is important – it should match the width of your blog. You can figure out what the width is by adding the value of your columns (my sidebars are each 200 and then the main content column is 500) and then subtracting 15 (not sure where I read this, but it works for mine.) Typepad makes it fairly easy to tell how wide your columns are. I think Blogspot is pretty simple too…

    Picture 5
    Once you have your new blank document open, open up the mosaic you just created as well.

    Picture 6
    Drag the mosaic to the blank document. It should be larger and in need of resizing.

    Picture 8
    Re-size so the entire image fits on the new document. Hold down the shift key while dragging the mosaic to keep the proportions equal.

    Picture 10
    Add text and crop so out the extra white space.

    Picture 11
    You can save the file normally or select "Save for Web" from the file tab. Usually when I am making visuals for the blog, I opt to "Save for Web" because it reduces the file size and allows me to adjust the size of the image.

    Picture 12
    Be sure to select "Maximum" from the menu box the comes up to have the highest resolution. click OK to save.

    Examplebanner
    TA-DA : Mosaic banner! Ready to upload to your blog.

    Have a great Tuesday, I hope this was helpful. The mosaic maker is a fantastic shortcut for so many fun collage projects.

  • Paul came up to Sacramento for the weekend. I would share photos – but two were taken and both were not great. We're on the home stretch of this marathon visit to California. I am so looking forward to a normal routine, cooking together, checking the mail and a full DVR.

    November 1, you cannot come fast enough.

  • IMG_3139 IMG_3140
    My girlfriend and one of my bridesmaids, Erin, is getting married next summer. She sent me and six other girls t-shirts to invite us to be her bridesmaids. Erin's wedding is July 1, 2010 in Maui and by then I'll have two months worth of wife wisdom to share with her.

    Love you, Erin. Can't wait.

  • Loveletter Loveletter2 Loveletter5 Loveletter4 Loveletter3 Loveletterback
    I have been struggling in the crafting department since coming to California. I guess it's hard to be without the normal routine and piles of stuff to use as supplies. Completely frustrated yesterday afternoon, I decided to forget the product and focus on the message in a love letter to Paul. (Images are out of focus to keep the words for just P.)

    Supplies : book rings and 4×6 dividers from Office Depot, pen by American Crafts, photos by Lisa Welge.

    PS. writing a love letter, even to yourself, is quite therapeutic.

  • IMG_3128

    • Jim & Pam's wedding on The Office tonight. I predict tears.
    • Our own wedding next April. I looked at wedding bands for both of us yesterday and got excited all over again.
    • A surprise guest coming to Sacramento this weekend.
    • Celebrating Second Saturday downtown.
    • New project plans.