Today's tutorial will show you the step-by-step instructions for making a ruffled throw pillow.
Disclaimers : My sewing experience is limited to a two hour lesson with my mom and viewing seven seasons of Project Runway. Because of that, this is not too technical, but I did my best to explain. As always, this tutorial and the projects that result from it are for personal use only. Please be careful when operating your sewing machine.
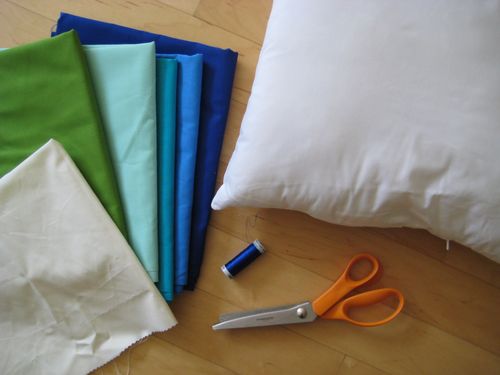
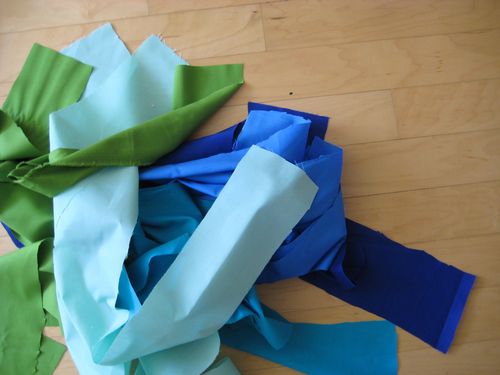
First off, gather supplies.
You'll need one uncovered pillow, thread, scissors, a sewing machine, an iron and some straight pins. For fabric, you can use all the same for ruffles of the same color or different ones for multiple colors. I used inexpensive cotton and would recommend it for this project. If you are making a one color pillow, three yards of fabric should be enough. For multiple colors, get a quarter yard of a few colors (as long as they are at least a yard in width) and at least a yard and a half of one of the colors to use for the base (back and front) of the pillow. To add a bit more sturdiness to the back, I used an extra square of white cotton as well.
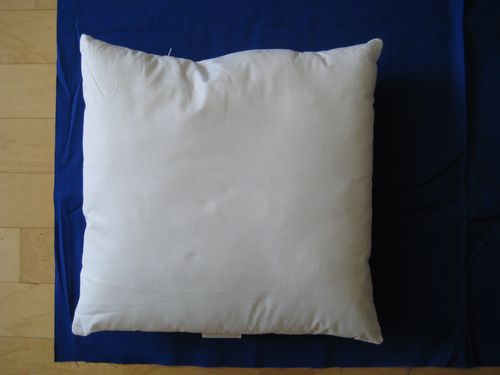
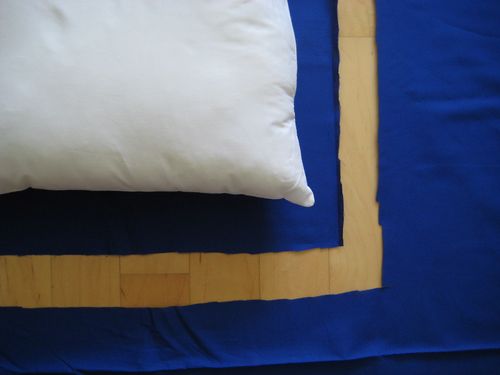
Cut three squares of fabric (two of a color and one of the white) for the back and front of pillow. They should be about 2 inches wider than the pillow on all four sides.
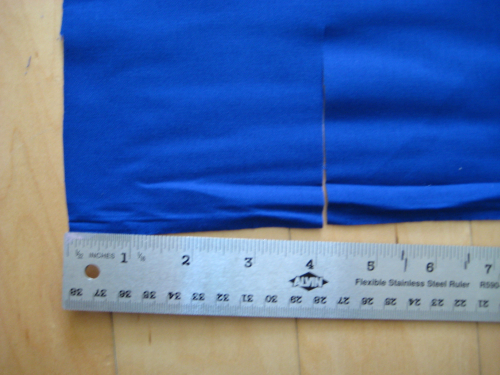
Cut fabric for the strips. Strips should be about four inches long and at least double the length of your pillow. My pillow was 16 inches and my strips were 36". This was just a bit too long.
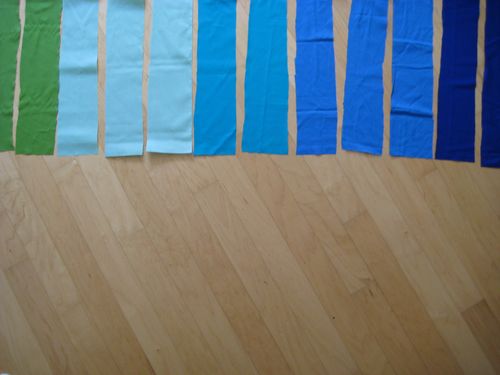
Cut fewer strips that your pillow has inches across. For example, my pillow was 16 inches across and I ended up using 13 strips of fabric to to cover the pillow with ruffles.
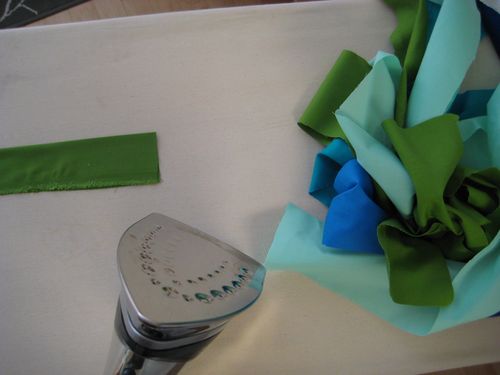

Fold your strips in half and use an iron to set the crease for the entire length of fabric. The folds do not have to be perfect, but take care to get out wrinkles and make a strong crease. This will help you move through the sewing process much faster.
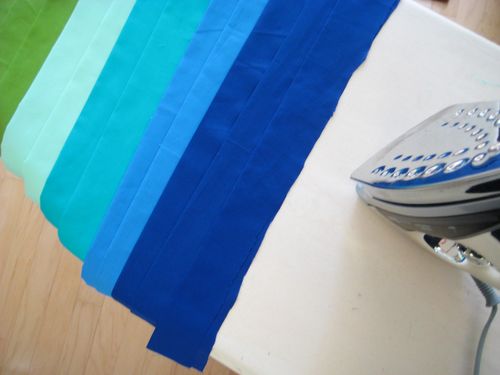
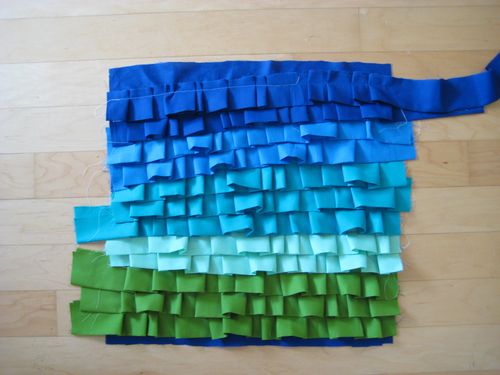
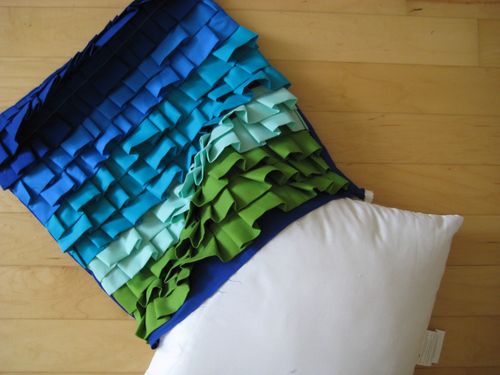
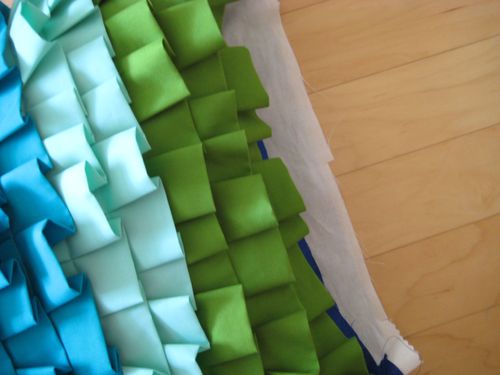
Once each strip has been ironed in half, decide on your pattern if if you are using multiple colors of fabric. I went with a gradient and faded green to dark blue.
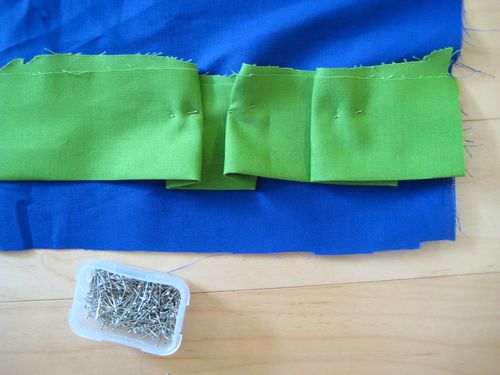

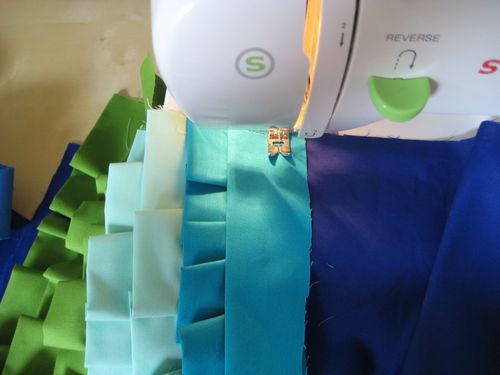
The ruffles are made by folding the strips of fabric on to themselves and then sewing them into place. You can use pins to configure the folds first OR…


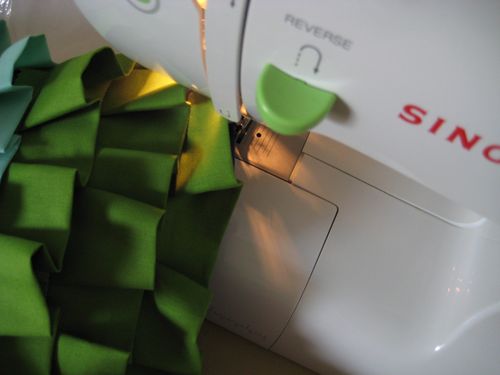
you can do what I did and manipulate the fabric by folding it back and forth as you are feeding it through the machine.
Sew the strip down for the entire length of fabric. To make the pillow look more interesting, follow a random pattern of folds – sometimes going back under the strip and sometimes folding over. Your thread line should be about 1/4 – 1/2 inches from the rough (unfolded) edge of the strip.

The most important job of the second strip is to hide the exposed seam of the the first strip. Keep this in mind as you sew the second strip into place.
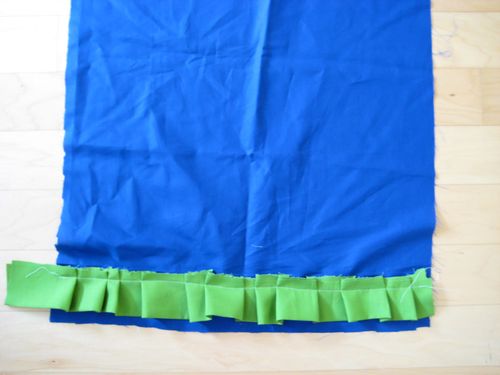
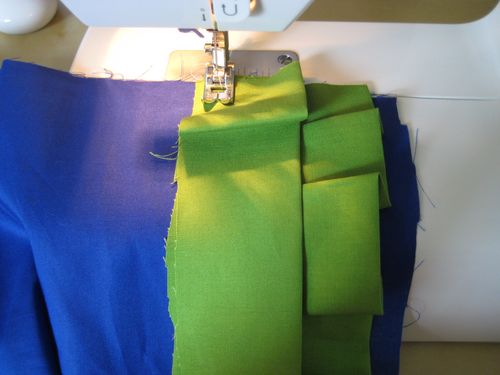
Continue sewing manipulating the fabric into folds and sewing down strips. Always work from the bottom of the cover to the top.
When you reach the halfway point on the cover, it might help to start working from the other side. This way the already completed ruffles will have more space to the left of the needle.
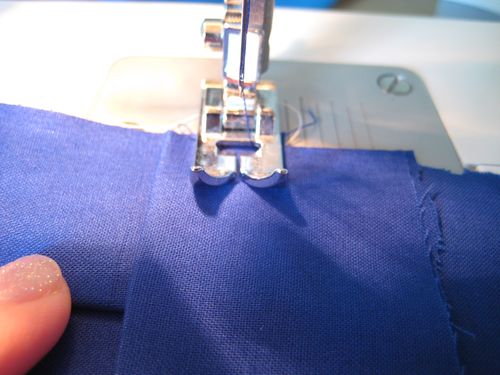
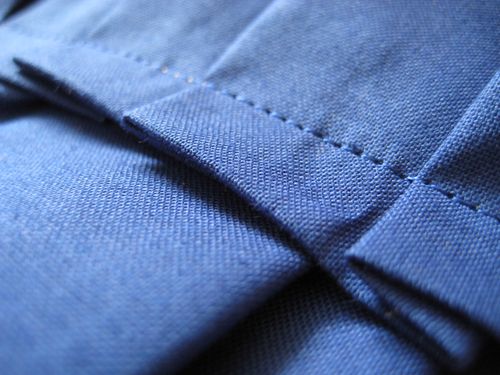
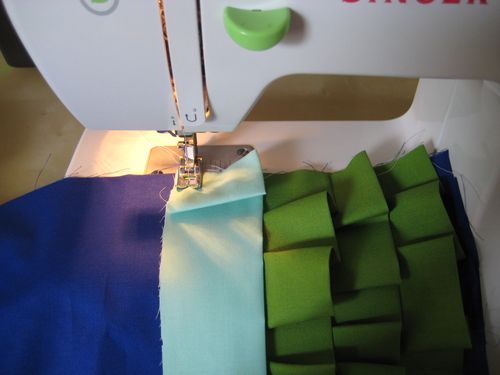
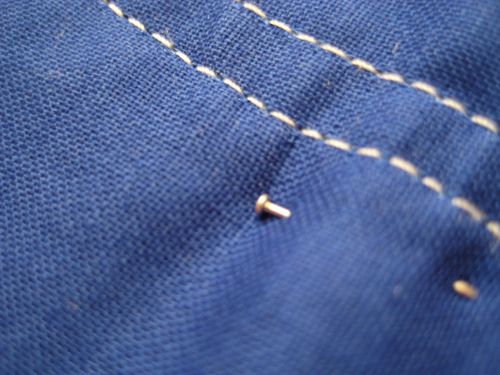
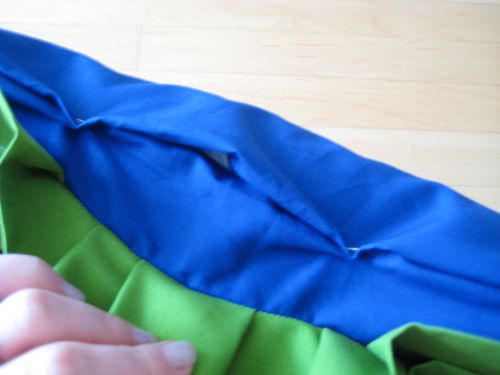
When you are nearly to the top of the cover, you will add one more strip. This one has an exposed seam and is used to keep the top ruffle from flipping up once the pillow is tucked inside. It should be sewn into place about a half inch from the bottom of the strip. I changed to a dark blue thread to better hide the sew line.
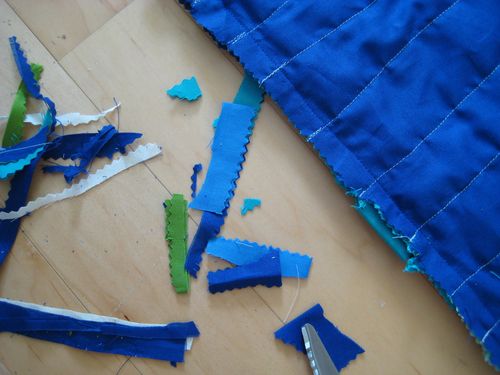
Trim the extra length from the strips.

Now you are ready to put the whole thing together.
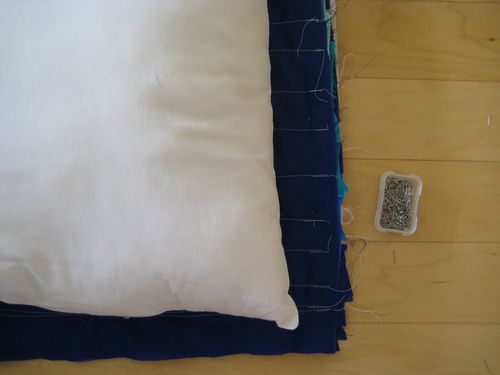
Sandwich your three fabrics in this order : front piece with ruffles facing in, back piece of colored fabric, white fabric. (The white fabric is used to make the back of the cover a bit sturdier.)
Pin your pieces together on three sides, left, right and top. Leave the bottom open. Use your uncovered pillow as a gauge for where the pins should go – about 1 inch from the edge of the pillow.
On the top side, put your pins close to the last thread line that is holding the top strip in place. You will want to sew outside these pins but probably just inside the side pins.

Sew through all three layers on the three sides.
Remove the pins and turn the cover right-side-out and slip the uncovered pillow in to be sure it fits. If it's too loose, resew on the inside of your initial lines to make it a bit tighter. If it's too tight, rip out one side of stitches and run it through the machine again, this time a bit closer to the edge.
Once it fits fine, trim off the excess fabric and turn right-side-out one final time.
Tuck the pillow into place.
There are a lot of ways to close up the bottom and finish your pillow. The best would probably be to add a zipper. The second best would probably be hand sewing. I'm a little to impatient and decided to fold the fabric in and sew another exposed seam with the pillow already in the case. It was a bit hard to maneuver, but worked fine.
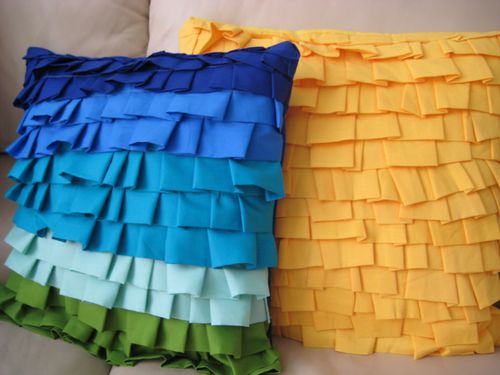
And that's it! A ruffled pillow! The yellow one is currently on our couch and the green/blue one is going to make a home on our bed. Now I just need to make a new duvet cover…
Hope you enjoyed!

Leave a reply to debbi g. Cancel reply