A few weeks ago, I shared my practice round of the boutonnieres I will be making for the groomsman & special men at the wedding. This tutorial shares the step-by-step process for making the same flower pins.
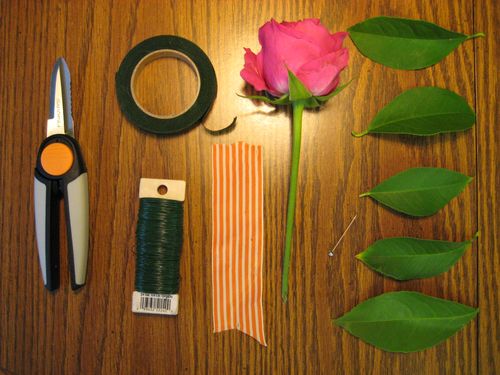
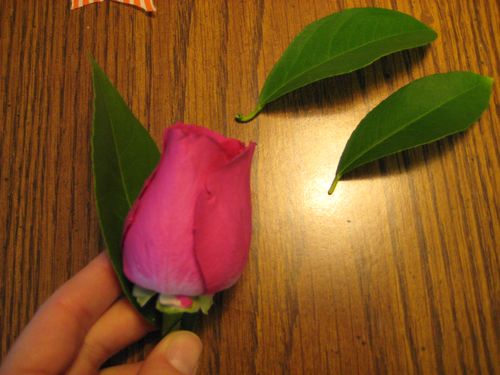
Supplies needed : a rose, a piece of ribbon, floral tape, floral wire, a straight pin, three leaves (mine are from a lemon tree, something similar to those shown would work) and some scissors. Mine are floral scissors because next week I will have a lot of stems to cut down. A note on the leaves – you want one decent sized one and two smaller ones. Mine were all a little too big and it made the finished product look a little wonky.
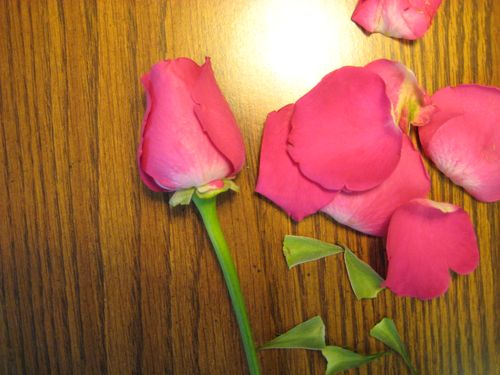
Clean up your rose. Pull of the extra big petals and the green pieces below the bud. Try to make a "perfect" bud shape without removing too many petals.
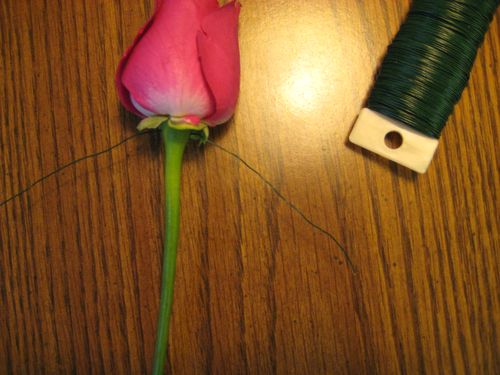
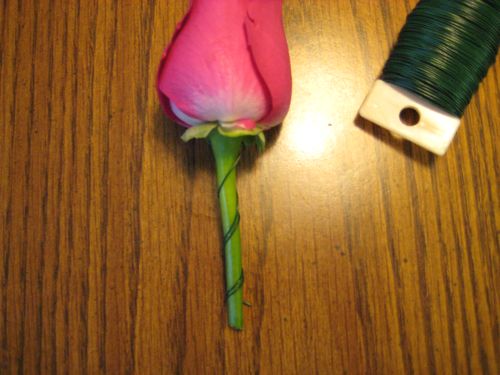 Poke a few inches of floral wire through the base of the stem. Wrap the wire down the stem to add support and strengthen the bud.
 Pick your three leaves.
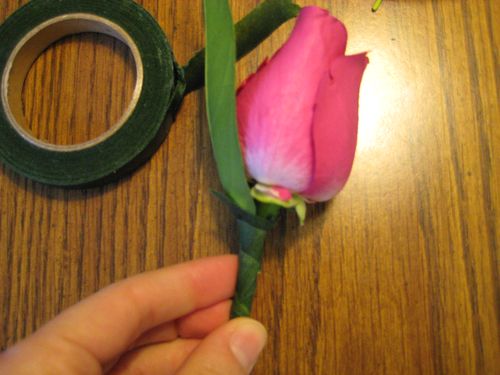 Secure the first leaf with a piece of floral tape. Wrap the tape around the leave and the base of the bud and work your way down the stem, pulling the tape tightly to get the most adhesive out of it.

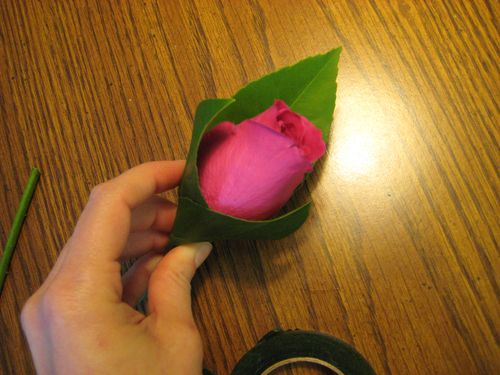
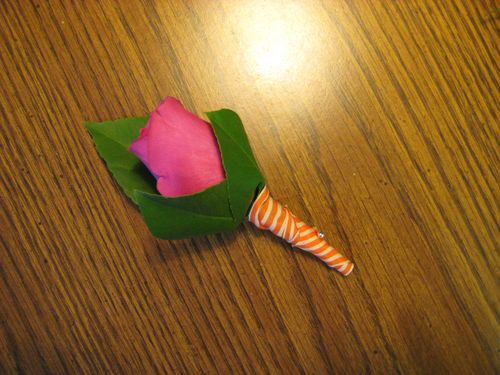
Add your remaining two leaves so they are both pointing out – making a "V" in the front of the rosebud. It might help to wrap each one with its own piece of floral tape. This will give you more control over the position it stays in.
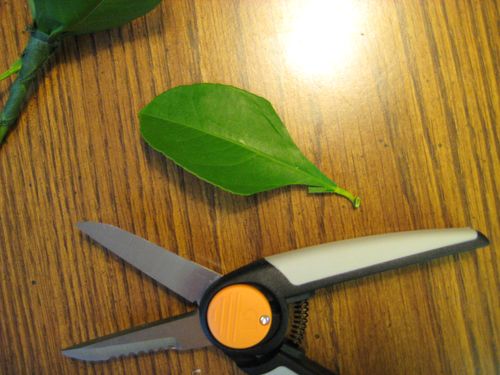
I trimmed the bottom of the front leaves to make them a bit narrower at the base. This helped relieve some of the bulk under the floral tape.

After each leaf was secured in place, I went down the stem again, this time going higher up on the bud and the leaves to help everything stay tucked in and in shape.
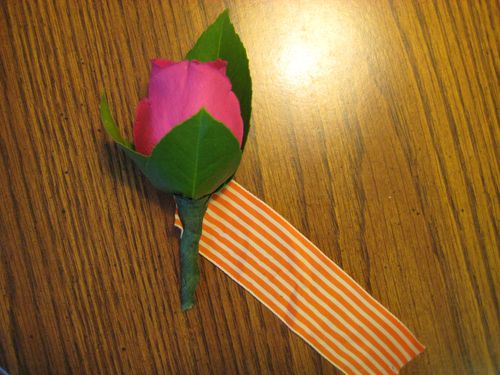
Wrap a piece of ribbon from the top down and secure with a straight pin. Be sure to push the pin up through the stem of the flower and not out the back side.
I am going to make 10 of these next Friday morning and store in a Ziplock bag in the fridge overnight. It's only going to work for me to do them because I am not worried about them being perfect. If I was, I would be going through a real florist for sure.
Nine days!

Leave a reply to karen Lee Cancel reply