There is so much information out there about how to make really stunning digital scrapbook pages. I know how to do about 2% of it. However, by request, I am going to share a few of my tips for making a book like my engagement book.
First things first. You have to pick a page size. Do not pick a random size because you will never find an album to house it in. Find an album and calculate what size pages you will need to fill it.
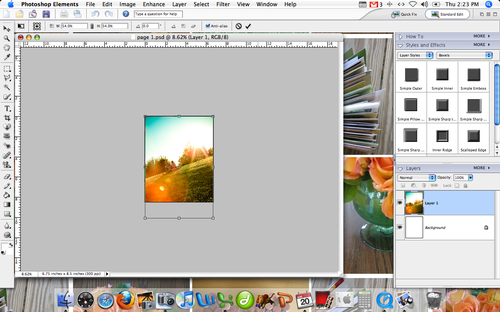
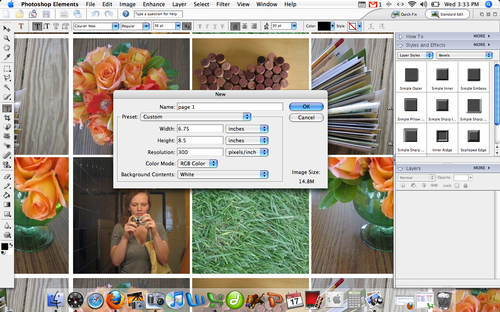 I use Photoshop Elements 4. It’s not the best, but it’s what I have. Above you can see I am making a canvas to build the page on. Make your resolution 300dpi.
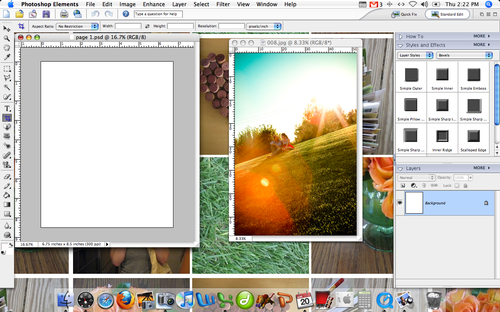 TA-DA. Page 1. I also opened up a photo. Nothing special, just click the yellow file folder and select your photo.
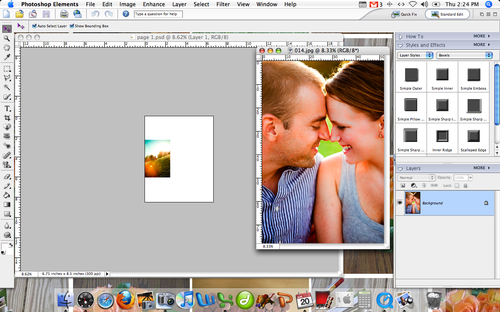
 Drag the photo on to the page. Your photo will probably be much larger than the canvas size. If it is not, this means your photo was taken on a low resolution. It might help if you start over with a canvas of 180dpi, but keep in mind that the print quality will not be as great.
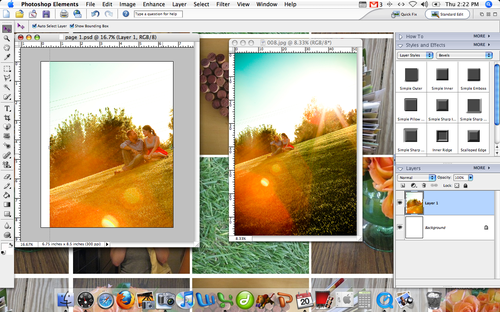
 Here is what my photo looks like on the page. Much to big. While holding down the shift key, you can drag the photo in on the corner. This will keep the same proportions but make your photo smaller.
 Here is my photo covering the whole canvas. For some pages I kept the photos large like this.
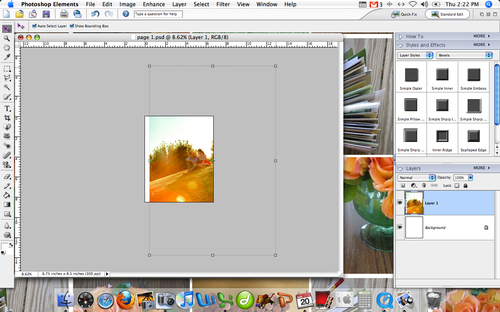
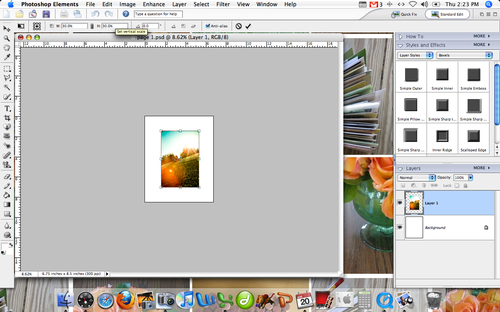 For others, I reduced the photo size to 30% and centered it on the blank canvas.
 When I wanted to add a second image, I made the first photo even smaller and then opened up a second photo.
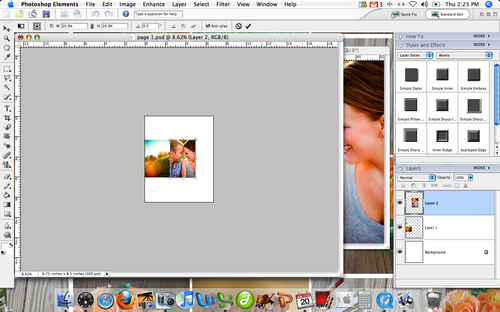 The same dragging and resizing gets two on the page.

By holding down the command key and clicking in the right box on each of the photos shows both photos (called Layers 1 and Layer 2) you can select them both at the same time. This will allow you to make them bigger or smaller by the same ratio. Great trick.
The best part about a digital book like this is you can really play around until you get it right. There is no gluing. I saved each page as a .psd file which allowed me to go back and play with them over and over. I also opened up the page spreads next to each other to be sure everything “lined up” before printing.
QUICK TIPS :
- Take it a page at a time. If you start to think about getting 70+ photos into a book, you’ll get overwhelmed.
- Pick one font and just a few text colors and stick to them.
- Reuse the same formats. Changing up the way the photos are displayed on every spread is difficult and overwhelming for the person viewing the book.
- There are only so many ways that a horizontal photo or a vertical photo can fit on a vertical page. This is a good thing.
- Group your photos. If you have two that look the same (same location, similar angle, close up/far away) either pick your favorite or use them together.
- Do not reinvent the wheel. If you have two pages that will look exactly the same except for text and photo, re-open the first one and just replace current image with a new one. Be sure to save it as a different page.
- Simple means simple. Resist the urge to add more.

Leave a reply to Linda in KS Cancel reply