
I often get asked how I get my own handwriting onto my photos / business cards / save the dates. This is a step-by-step tutorial of how it gets done. (Disclaimer : I know there are probably a lot of ways to make this work and some of them are probably much more efficient, but this quick and dirty way works for me…and I hope it helps you.)
First things first, write out your text or draw your image with a black pen on white paper. I use American Crafts slickwriters. It shouldn't matter what you use as long as it is not too thin. After you have everything on paper, use a scanner to scan the page into your computer. Go with a high resolution (how high will depend on the project. For simple graphics to use online, about 300 dpi will work. If you are going to incorporate your text into a invitation or printed piece, scan your handwriting in at 1200 dpi.) Below are a few sections of my scanned pages.
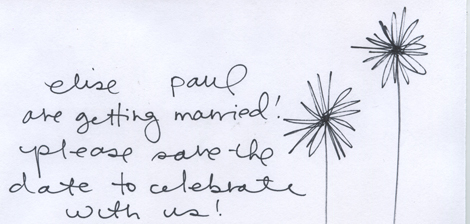
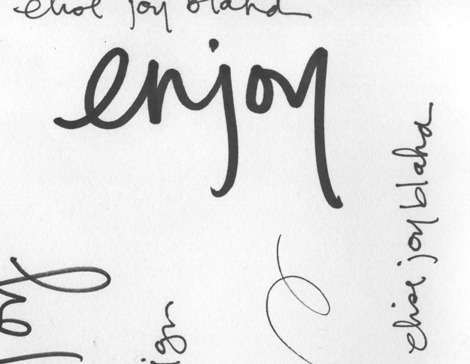
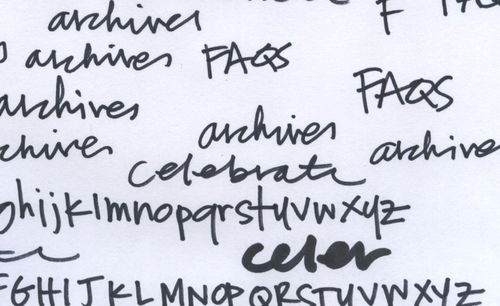
I often write my text multiple times on the paper so I am sure there is a sample I like. Items that are connected on paper will be selected at the same time which means cursive writing will transfer faster than block printing. Be sure that the scanned images are only touching if you want them to be in your final product. There is no need to write your words in the correct order. If you have multiple projects, put them all on the same paper so you only have to scan once.
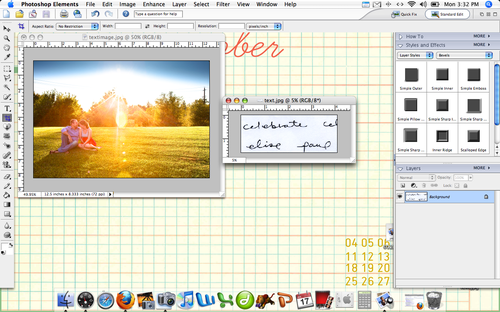
Once you have your scanned images, open PSE or Photoshop (I am using PSE 4 on a MacBook). Open your scanned page as well as the photo or image you will be adding the text to. (Image I am working with is one of our engagement photos taken by Lisa Welge & the background desktop you can see is from oh, hello friend.) In this tutorial, you can click on all screen shots to see them larger.
Ignore the photo for the moment and concentrate on your scanned text. Zoom in so you can really see scan. From the left side, select the magic wand tool. At the top, there are 4 options for what the wand tool should do. Select the last option.
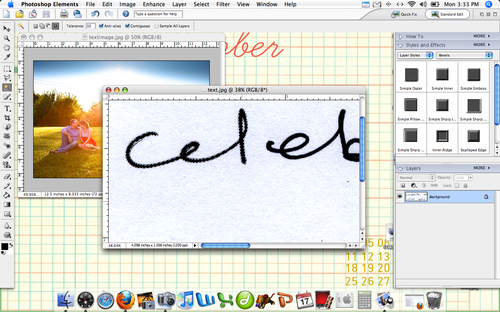
Hover the magic wand tool over the black part of your text and click. Dotted moving lines should appear around your text. The tool will only select the letters that are connected to each other. (IE : the "cel" not "ebrate")
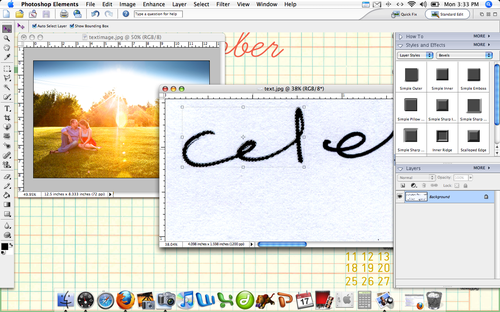 From the left sidebar, select the arrow key and click on your dotted line text. A box should appear around the selection.

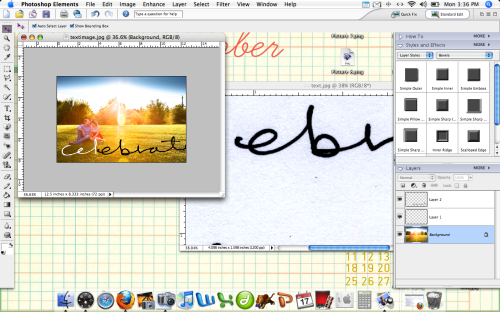
With the arrow still selected, click the text and drag it on to the photo that you have already opened in PSE. Your text should appear in black over the photo. Because the resolution of my photo and the scanned image are different, the text appears very large on the photo. This is good. I can make the text smaller, but it is hard to make it look bigger without becoming to digitized. If you text is too small for your project, rescan it at a higher resolution.
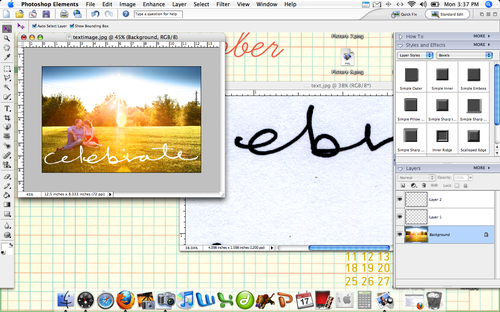
 Select the paint bucket tool from the left sidebar. At the bottom of the left toolbar, you can click the square and change the "paint" color. I chose white, you can use whichever you prefer. Once your color is selected, hover the paint bucket over the text and click. Your text will change color.
To adjust the size of the text, select the arrow key and click on the text. Drag from the corner of the box that appears around the text to re-size. If you hold down the shift key while dragging, the proportions of your text will remain the same. At the top of the screen you can see the percentage change in the size of your text. (In the image, mine has been re-sized to 30.2%.) Pay attention to this size. We will use it to make the second part of the word the same size as the first.
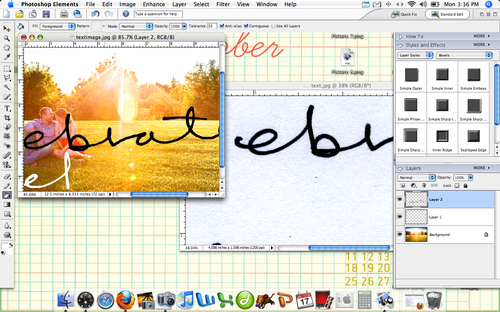
Repeat the first few steps to get the rest of your word on to the photo. Use the arrow key to select the text and change it's size to match the first part.
Drag the remaining text to the correct spot. To re-size both parts of the word (or as many parts as your word would be) you can select them both by holding down the Apple (CMD) key (or CONTROL on PCs I think) and using your mouse to click both Layer 1 and Layer 2 from the right tool box. I missed the screen shot for this one, but your selected layers will appear with a box around both of them at the same time.
Use the paint bucket tool to change the remaining text to white. Please note that if your hold word is one un-interrupted line, you will not have to do these last few steps and will be able to select everything at once.

From here, you can add more text or just call it done. You could print your completed photo or upload it to a blog or website.
The same steps can be used to add text to a blank document in PSE as well:
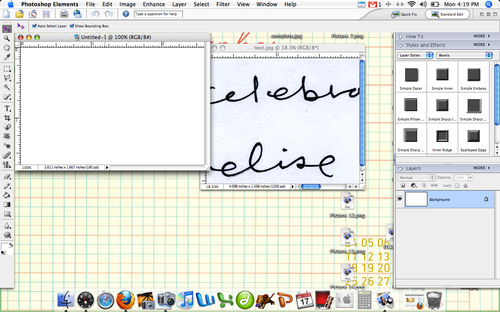
Open a new document and your scanned text.
Use the paint brush tool to change the background color of your new document and zoom into the text you plan to select with the magic wand tool. Click on the text with the magic wand.
Drag the dotted text over to the new document.
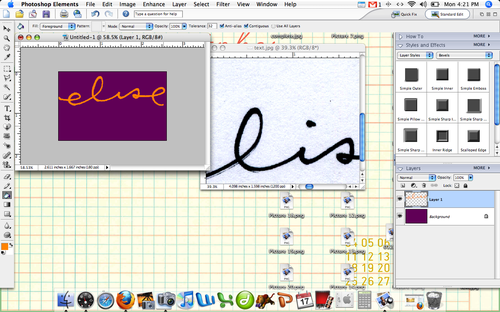
Resize your text so it fits your new document and change the color. To write my name, I had to go back and grab the dot of the "i".

Text on a blank background could be used to make business cards or invites.
I hope this is helpful. Again, I know there are probably better ways to accomplish the same effect but this works, I promise. Please let me know if you have questions and I will answer in the comments.
Thanks for reading! Go make stuff.

Leave a comment